Story by Darby Kendall
Photos by Mary Cantrell
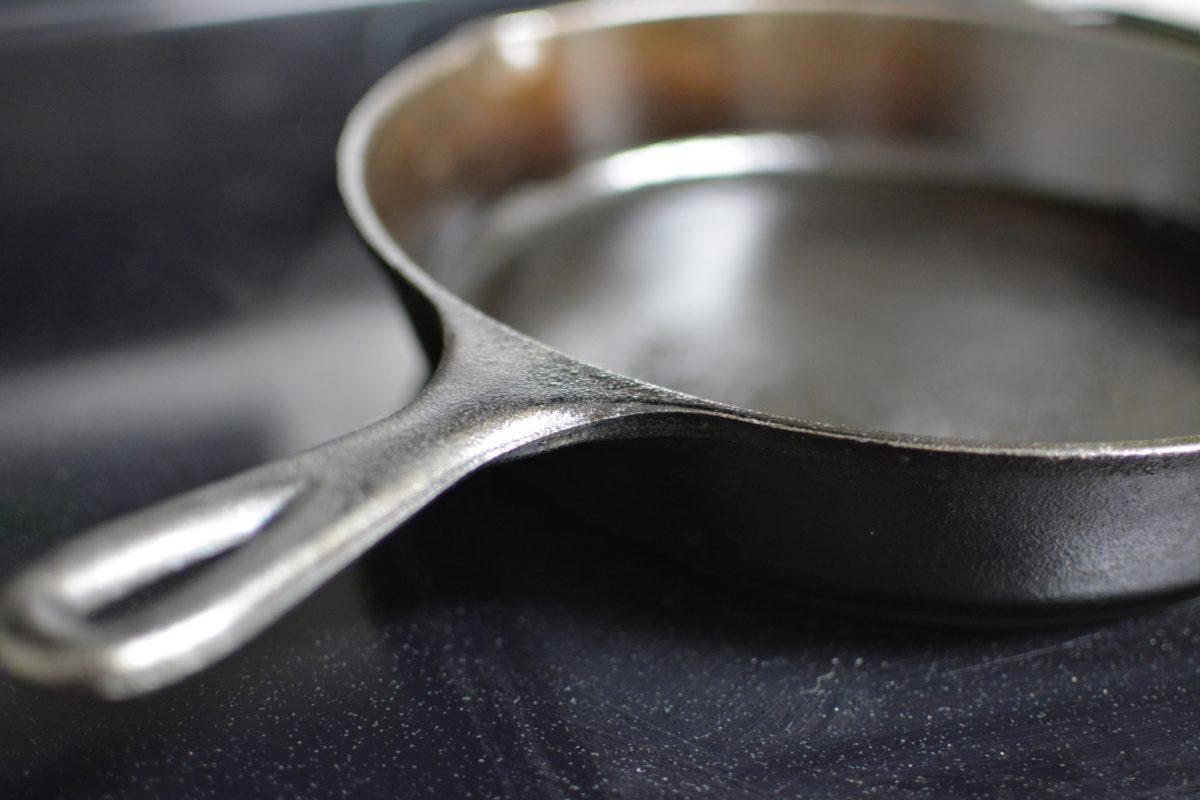
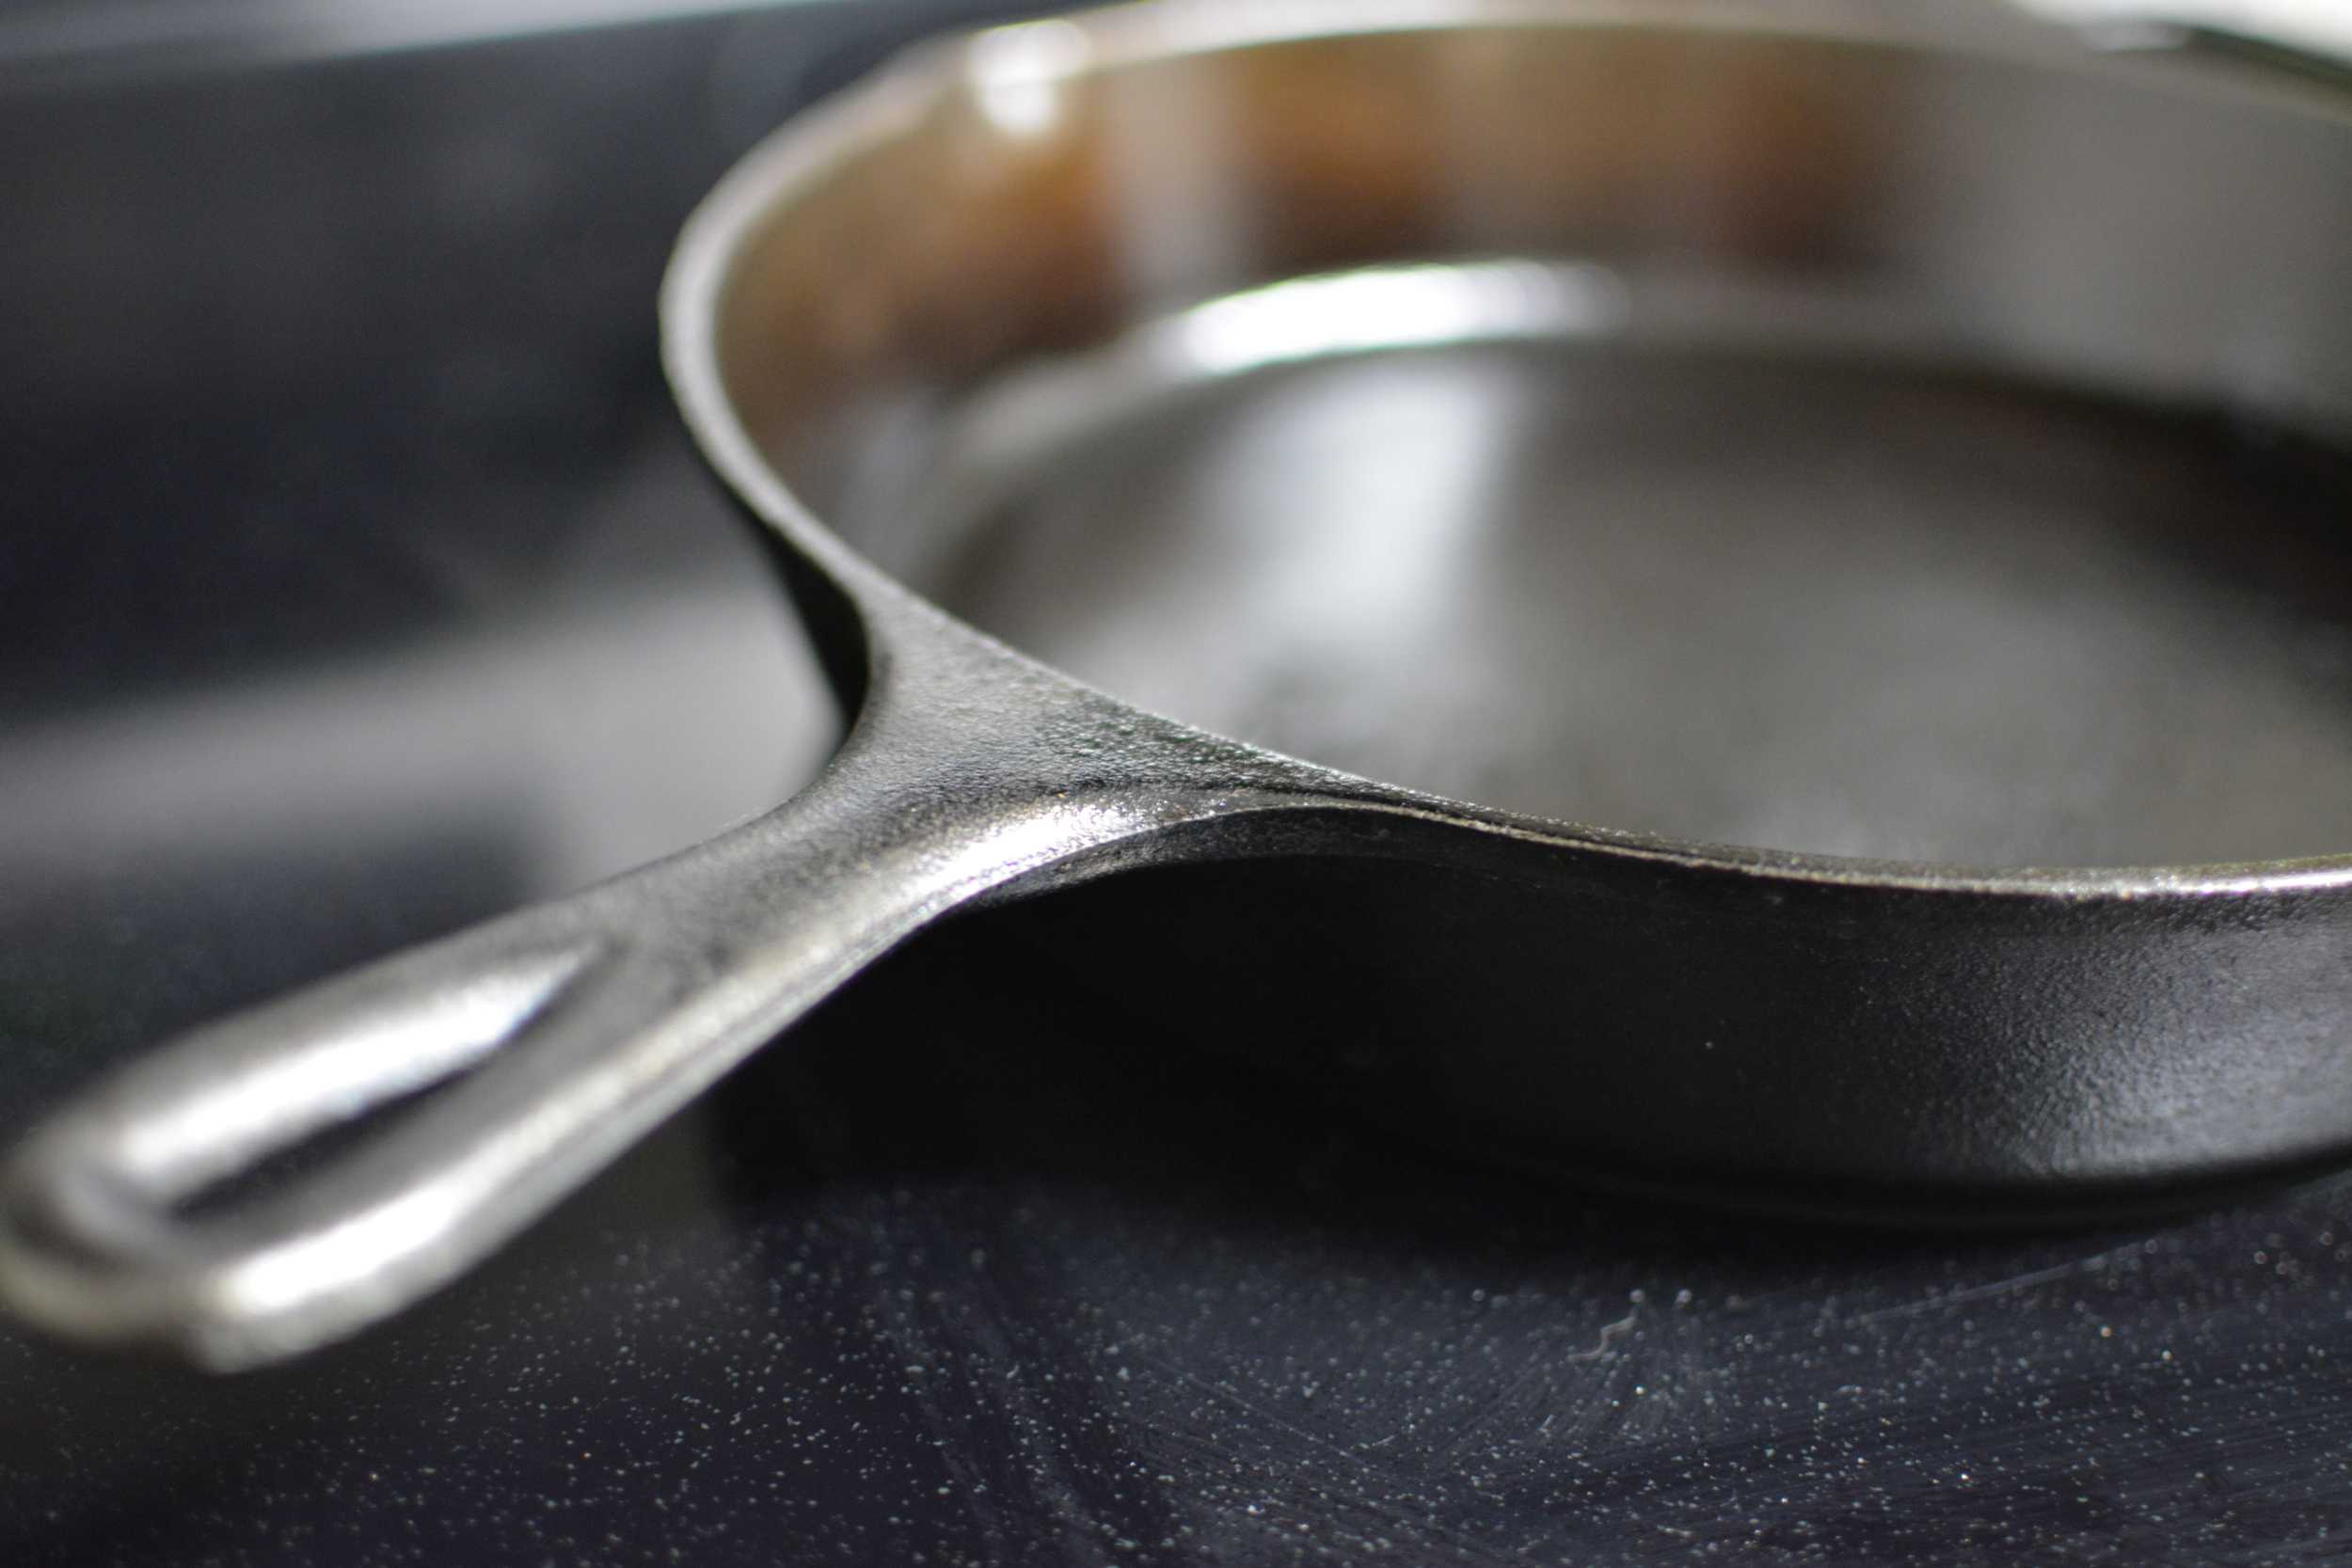
A cast iron skillet may seem old-fashioned, but it is the first thing I reach for when using the stove. In fact, it is the only pan I have in my kitchen, as cast iron has many benefits that other cookware cannot measure up to.
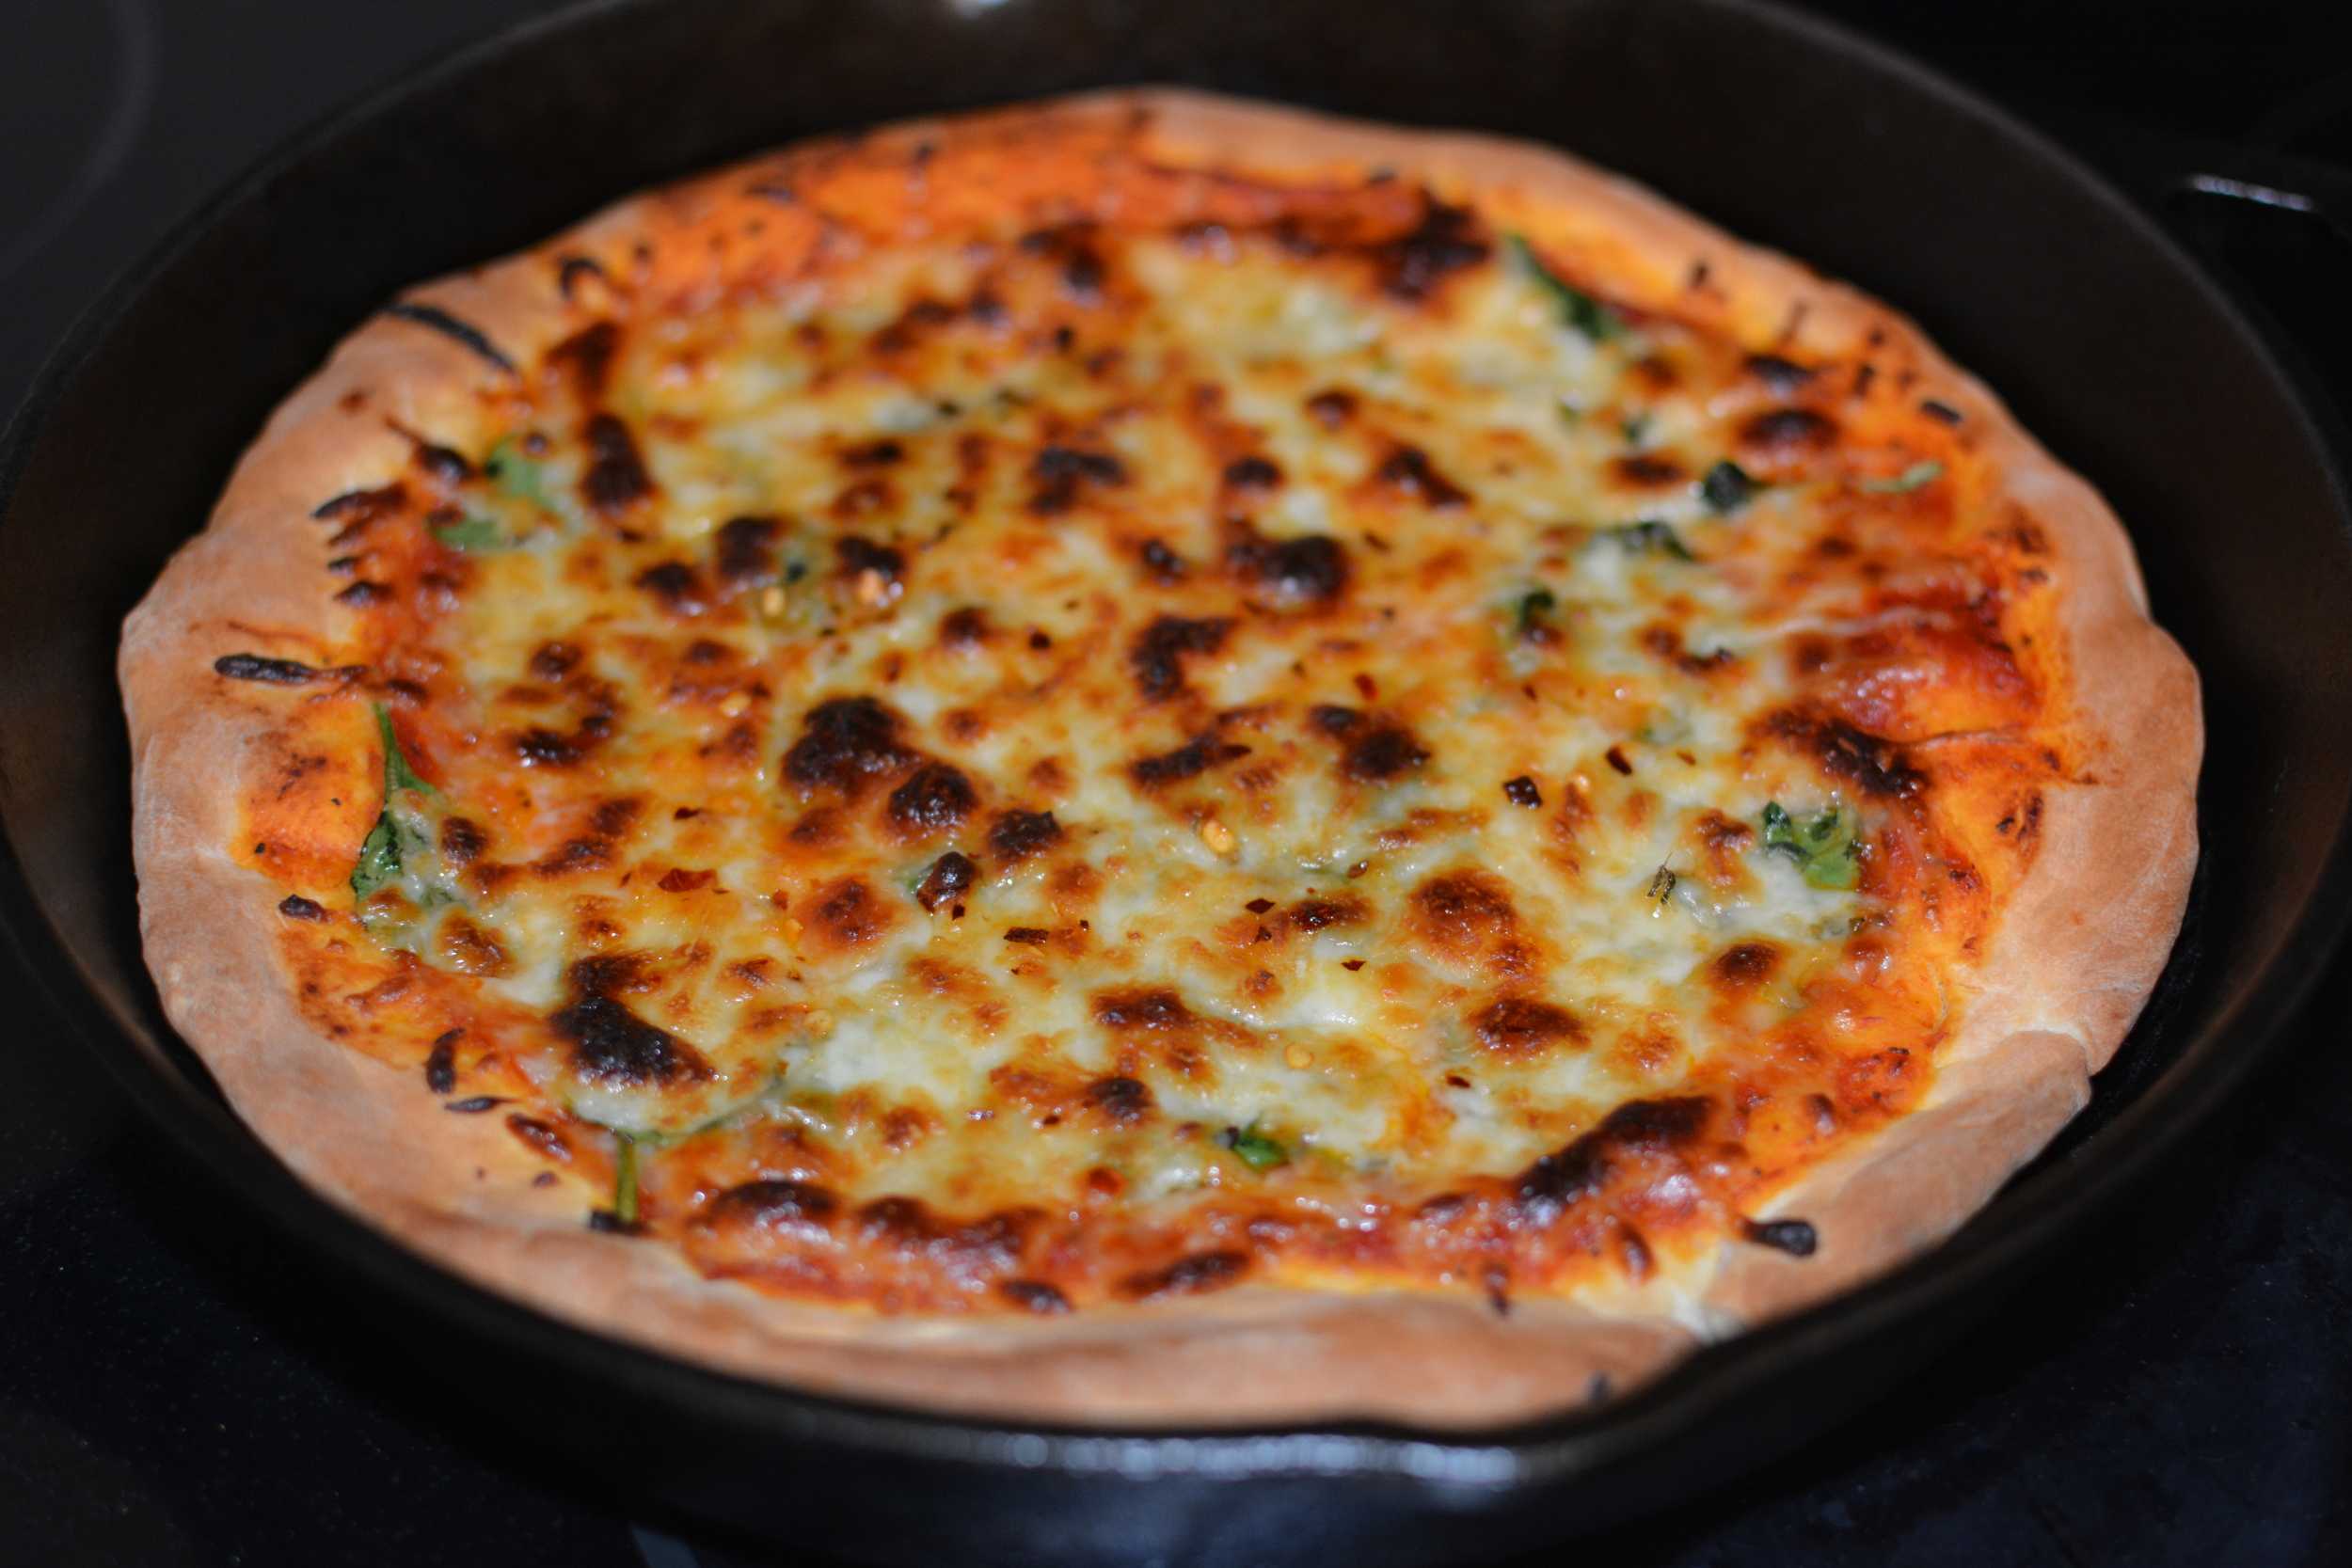
Cast iron is an all-around cooking tool. It comes in a variety of shapes, from dutch ovens to griddles, but my favorite is the skillet. This one pan is so versatile, you can basically cook anything your heart desires. You can fry chicken, make giant cookies, cook a stir-fry or create authentic quesadillas. And did I mention pizza? (See recipe below.)
The pans also have health benefits. Cast iron has none of the chemicals that non-stick pans contain. The coating in non-stick pans that keeps food from sticking contains a chemical that is linked to liver damage and cancer — problems that are not an enjoyable side dish to your fried chicken. Since cast iron does not have a coating, this unpleasant problem is avoided.
The cast iron does leave something behind in your food — but don’t worry, it’s not liver damage. It’s iron. Whenever you cook with cast iron, the pan leaches iron into your food. This is beneficial, as a shortage of iron in your diet can lead to feeling tired and weak. For anemics, vegetarians and others who often have iron shortages, simply cooking in one of these pans can help solve the problem.
These cooking tools are also relatively cheap, which is great for students living on a budget. Feeling like a serious cook is worth a $20 investment, and the piece will last you for years. My mother still cooks with her great-grandmother’s cast iron dutch oven, and the food tastes great.
Despite all of these benefits, many people still avoid using cast iron for one reason: they don’t know how to properly upkeep it. Cast iron requires special attention in order to become non-stick over time, through a process called seasoning. While taking care of a pan may sound daunting, seasoning cast iron is actually quite simple. Celebrity chef Alton Brown is known for his love of cast iron, so much so that a method of seasoning it was named after him. The “Alton Brown method” is a simple way to keep cast iron clean and non-stick for years to come.
Caring for cast iron:
- If food remains after cooking with cast iron, scrub the area with coarse salt and a little water. Do not use soap, as it can remove the oils that make the pan nonstick.
- Dry off with a towel. Make sure no water is left behind as rust can develop.*
- Pour a little oil of your choice (I use olive oil, but others like sunflower oil or peanut oil work as well) into the bottom of the skillet. Rub around with a paper towel all over the pan, even on the outside.
- Put your skillet in the oven and heat to 350 degrees. Let the pan sit for several minutes, and then turn the oven off, leaving the pan in. Heat is what lets the oils soak in, making the pan nonstick.
- Once the pan has cooled, remove from the oven. Now it’s shiny and ready to be used again.
*If you do get rust spots, do not panic. Rubbing extra oil on the rusty places can make them disappear quickly
A cast iron may need a little tender loving care now and again, but it is well worth it. With the right information and some yummy recipes, a pan that costs less than four lattes can be an invaluable cooking tool for generations.
Cast Iron Skillet Pizza
Delicious homemade pizza, just the right size for one person to love all their own.
Dough:
1 packet active dry yeast
1 tablespoon sugar
2 tablespoons olive oil, plus more for brushing bowl, dough ball and crust
1 teaspoon kosher salt
3 cups all purpose flour, plus more for dusting your work surface
1 cup slightly warm water
(Note: recipe yields two crusts. You can choose to halve the recipe for one crust or make the full recipe and freeze half of the dough for later use.)
- In a medium bowl, pour the warm water in and sprinkle with yeast. Let stand until foamy, about 5 minutes. Do not use hot water or it will kill the yeast and your dough will not rise.
- Add the sugar, oil, and salt into yeast mixture.
- Using a hand mixer or stirring spoon, slowly add the flour and mix until a dough ball forms. You may want to transfer to a floured work surface and knead by hand until a smooth ball comes together.
- Transfer dough to an oiled bowl and brush top with oil. Cover bowl with plastic wrap and set aside in a warm area for about an hour. The dough should double in size.
- Cut the dough in half. Place both pieces on a floured work surface and gently knead. You can roll one piece out now into a 12 inch round.
- To freeze the second piece, wrap the dough in plastic and place it in a resealable freezer bag for up to three months.
Recipe adapted from foodrepublic.com
Pizza:
1 cup of pizza sauce
1 cup presliced mozzarella cheese
1 cup of baby spinach
Any other toppings of choice
- Preheat the oven to 450 degrees
- Coat the cast iron skillet in olive oil or non-stick spray (or both) so the pizza doesn’t stick
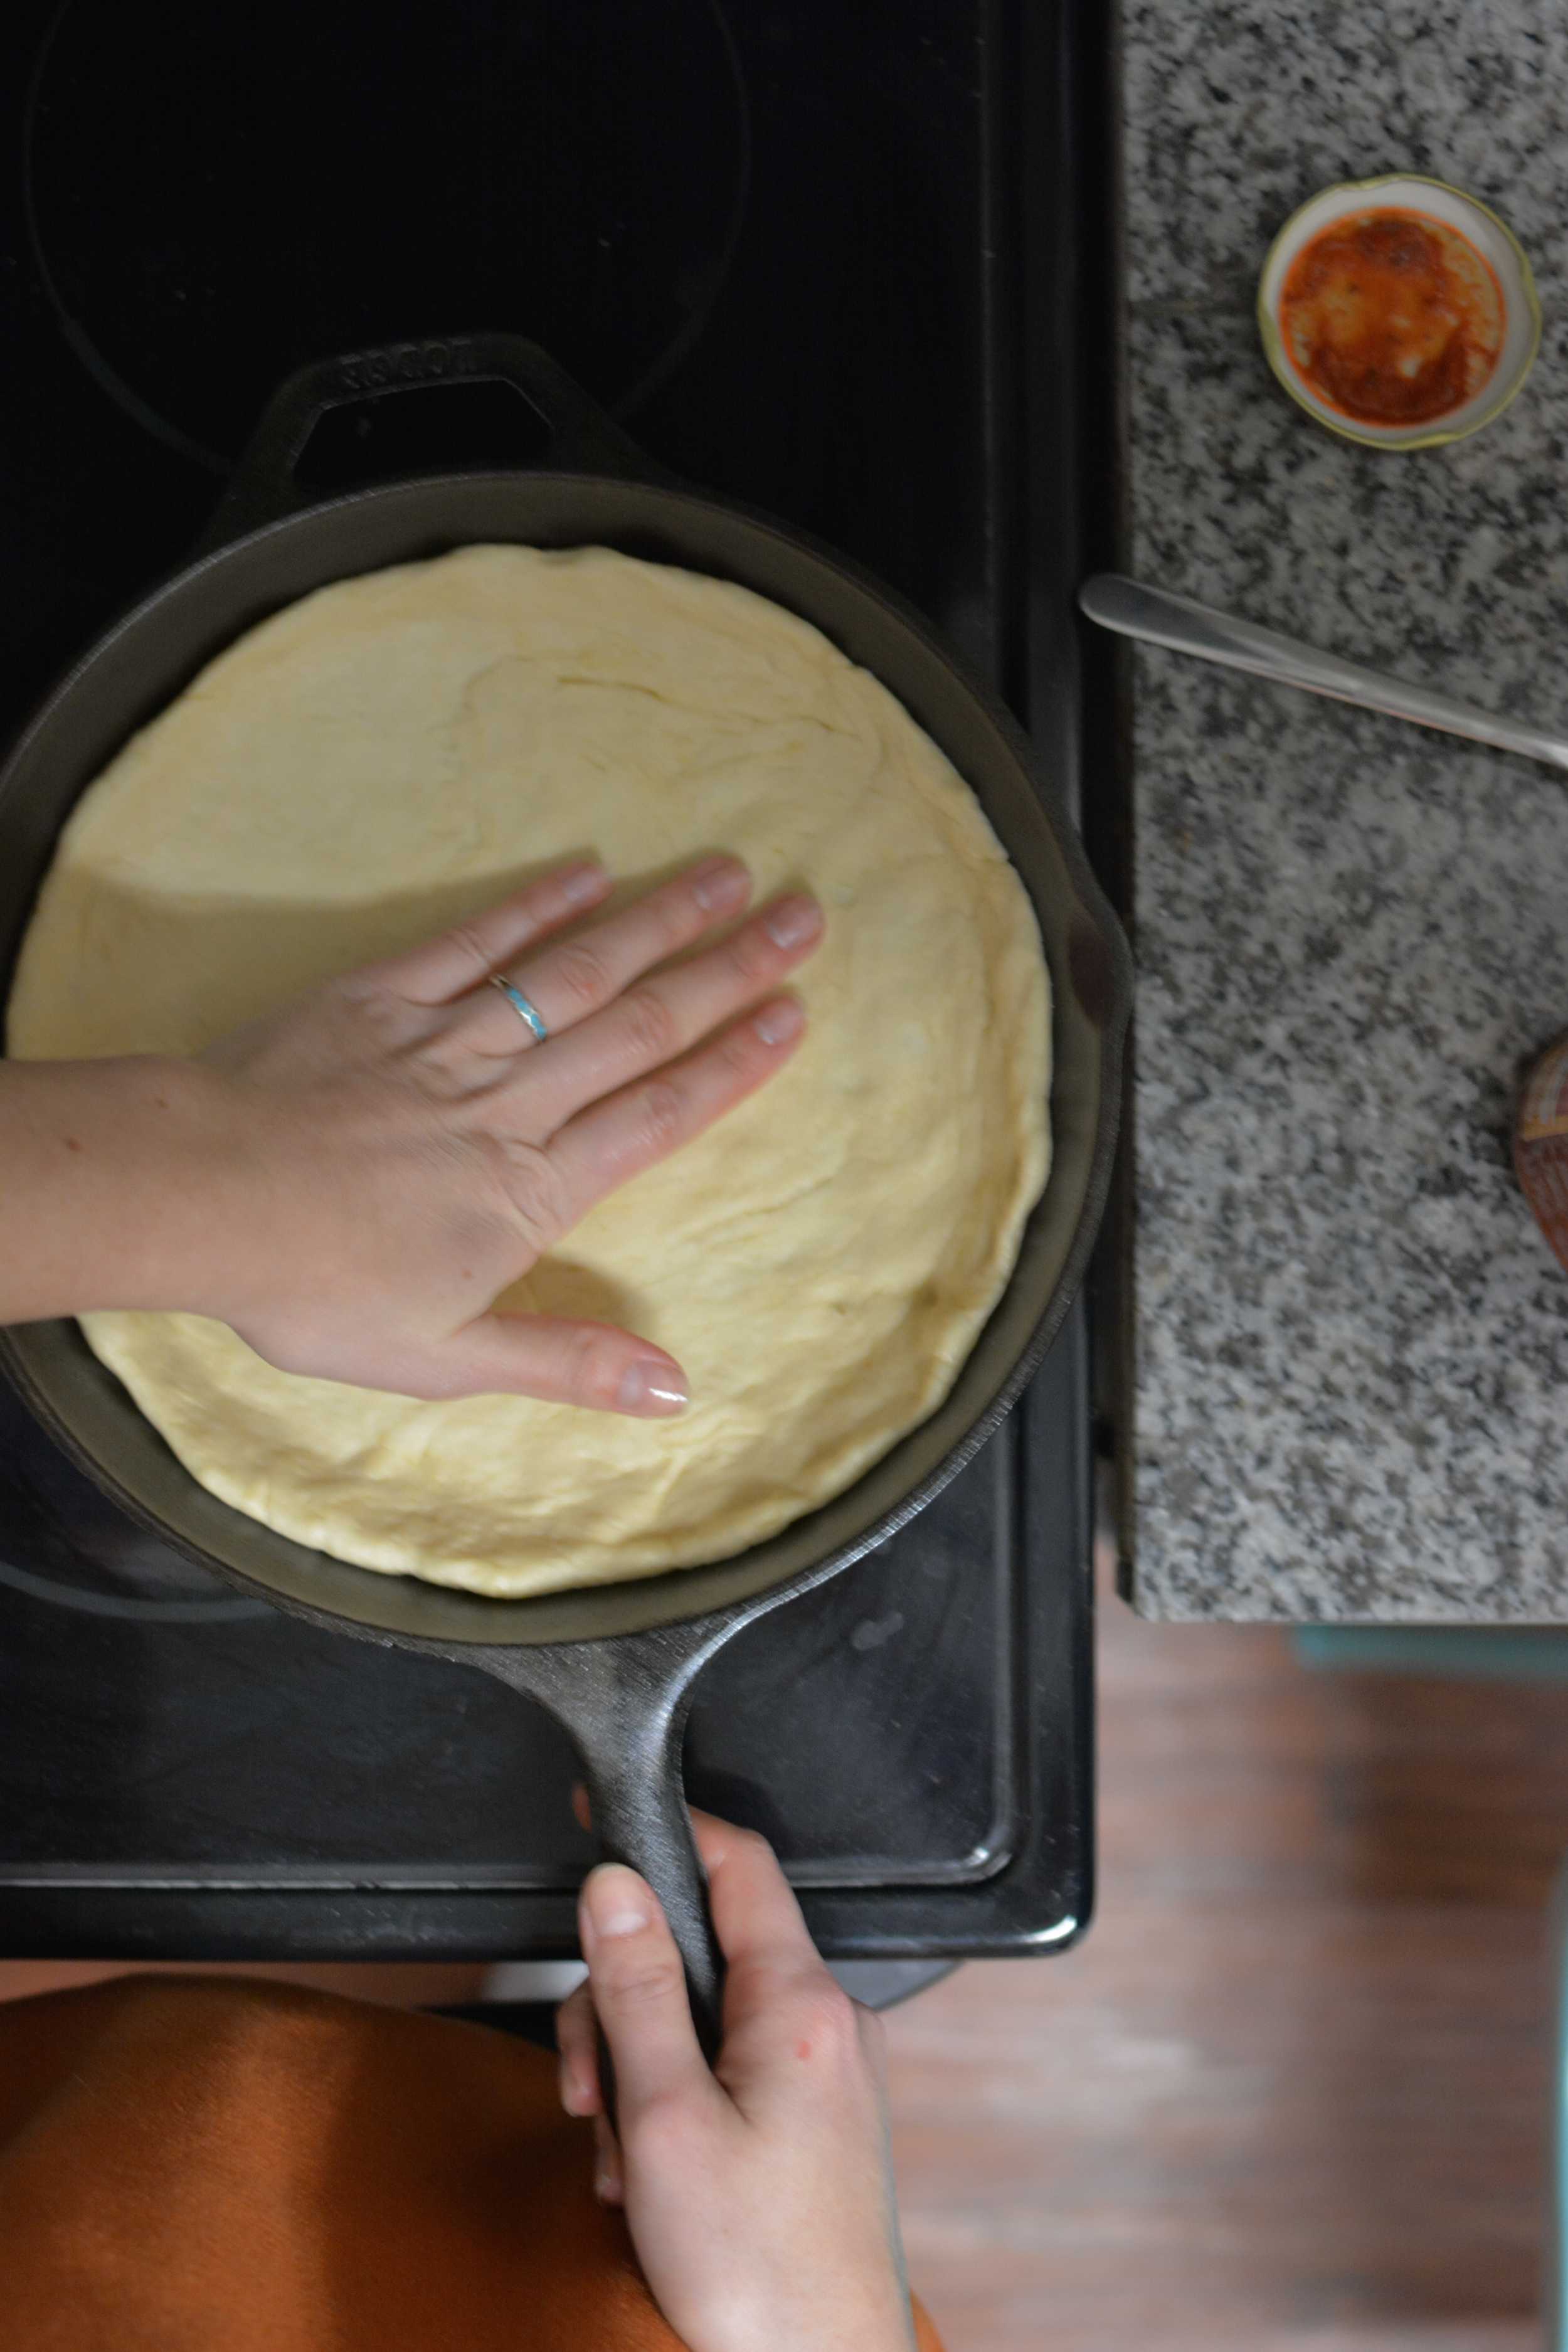
- Put the half of the dough you’re not freezing into the skillet
- Press with your hands until the dough reaches about 1 inch up the sides
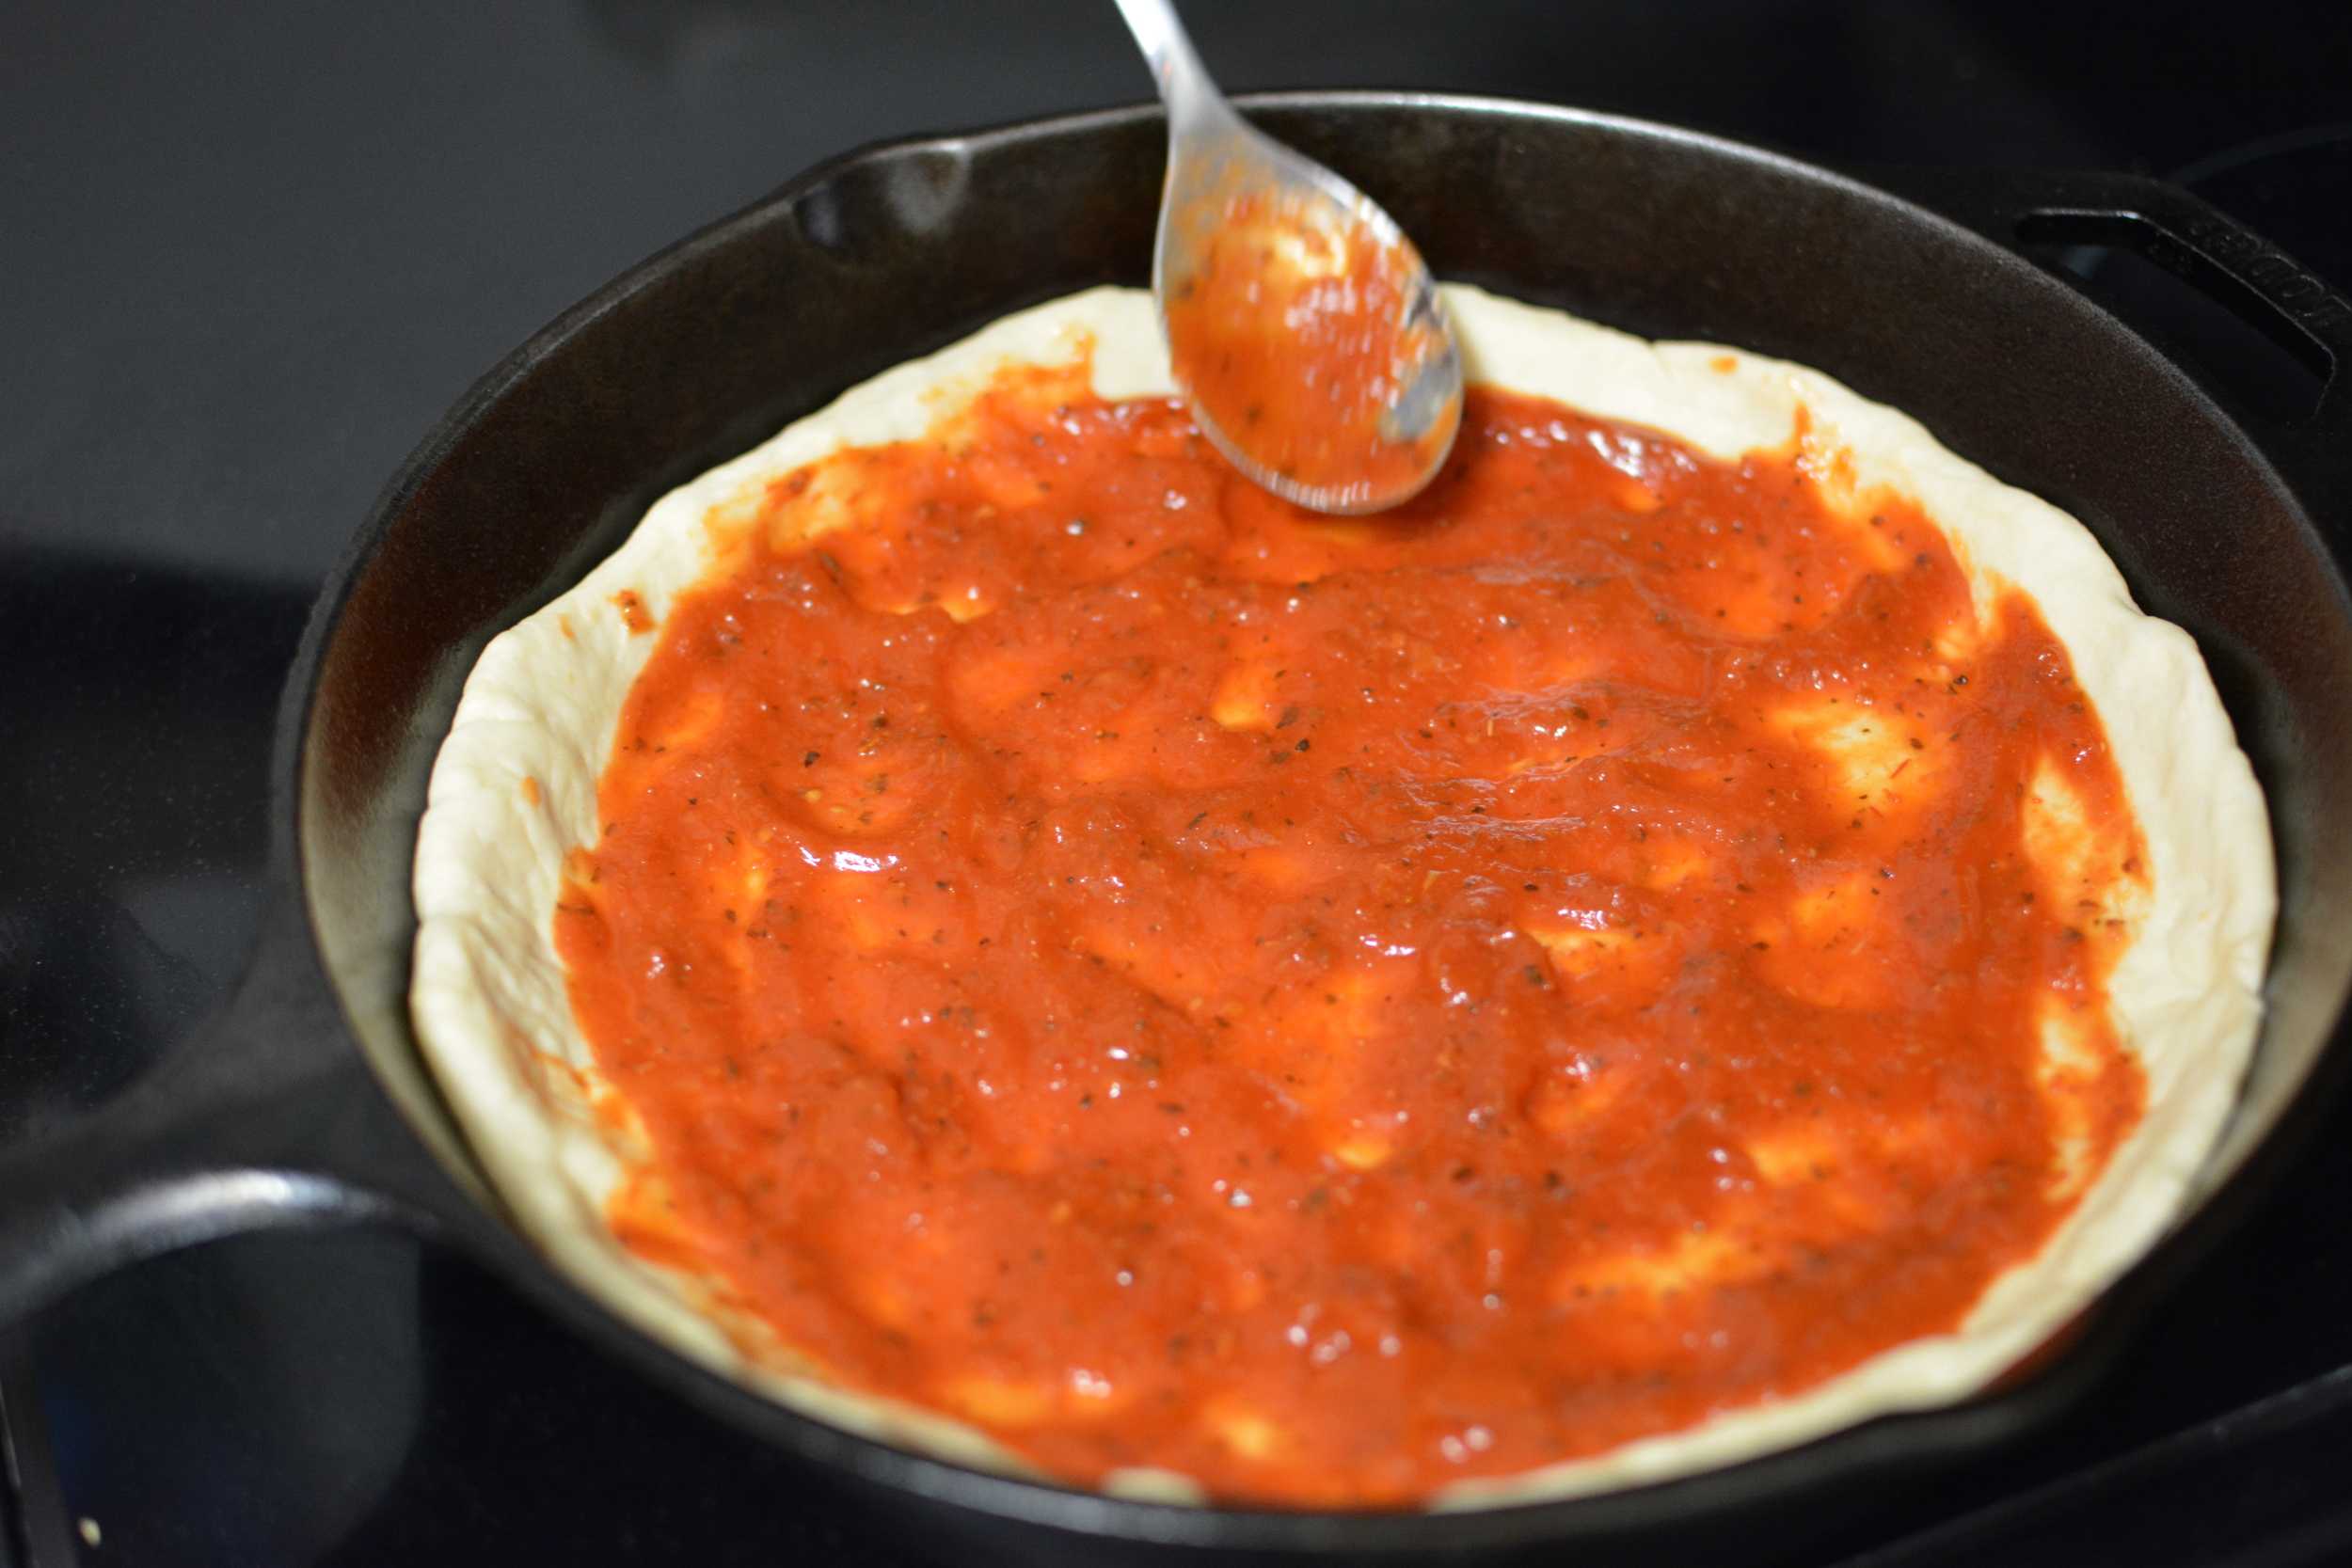
- Put the pizza sauce on top of the crust until it looks thick enough
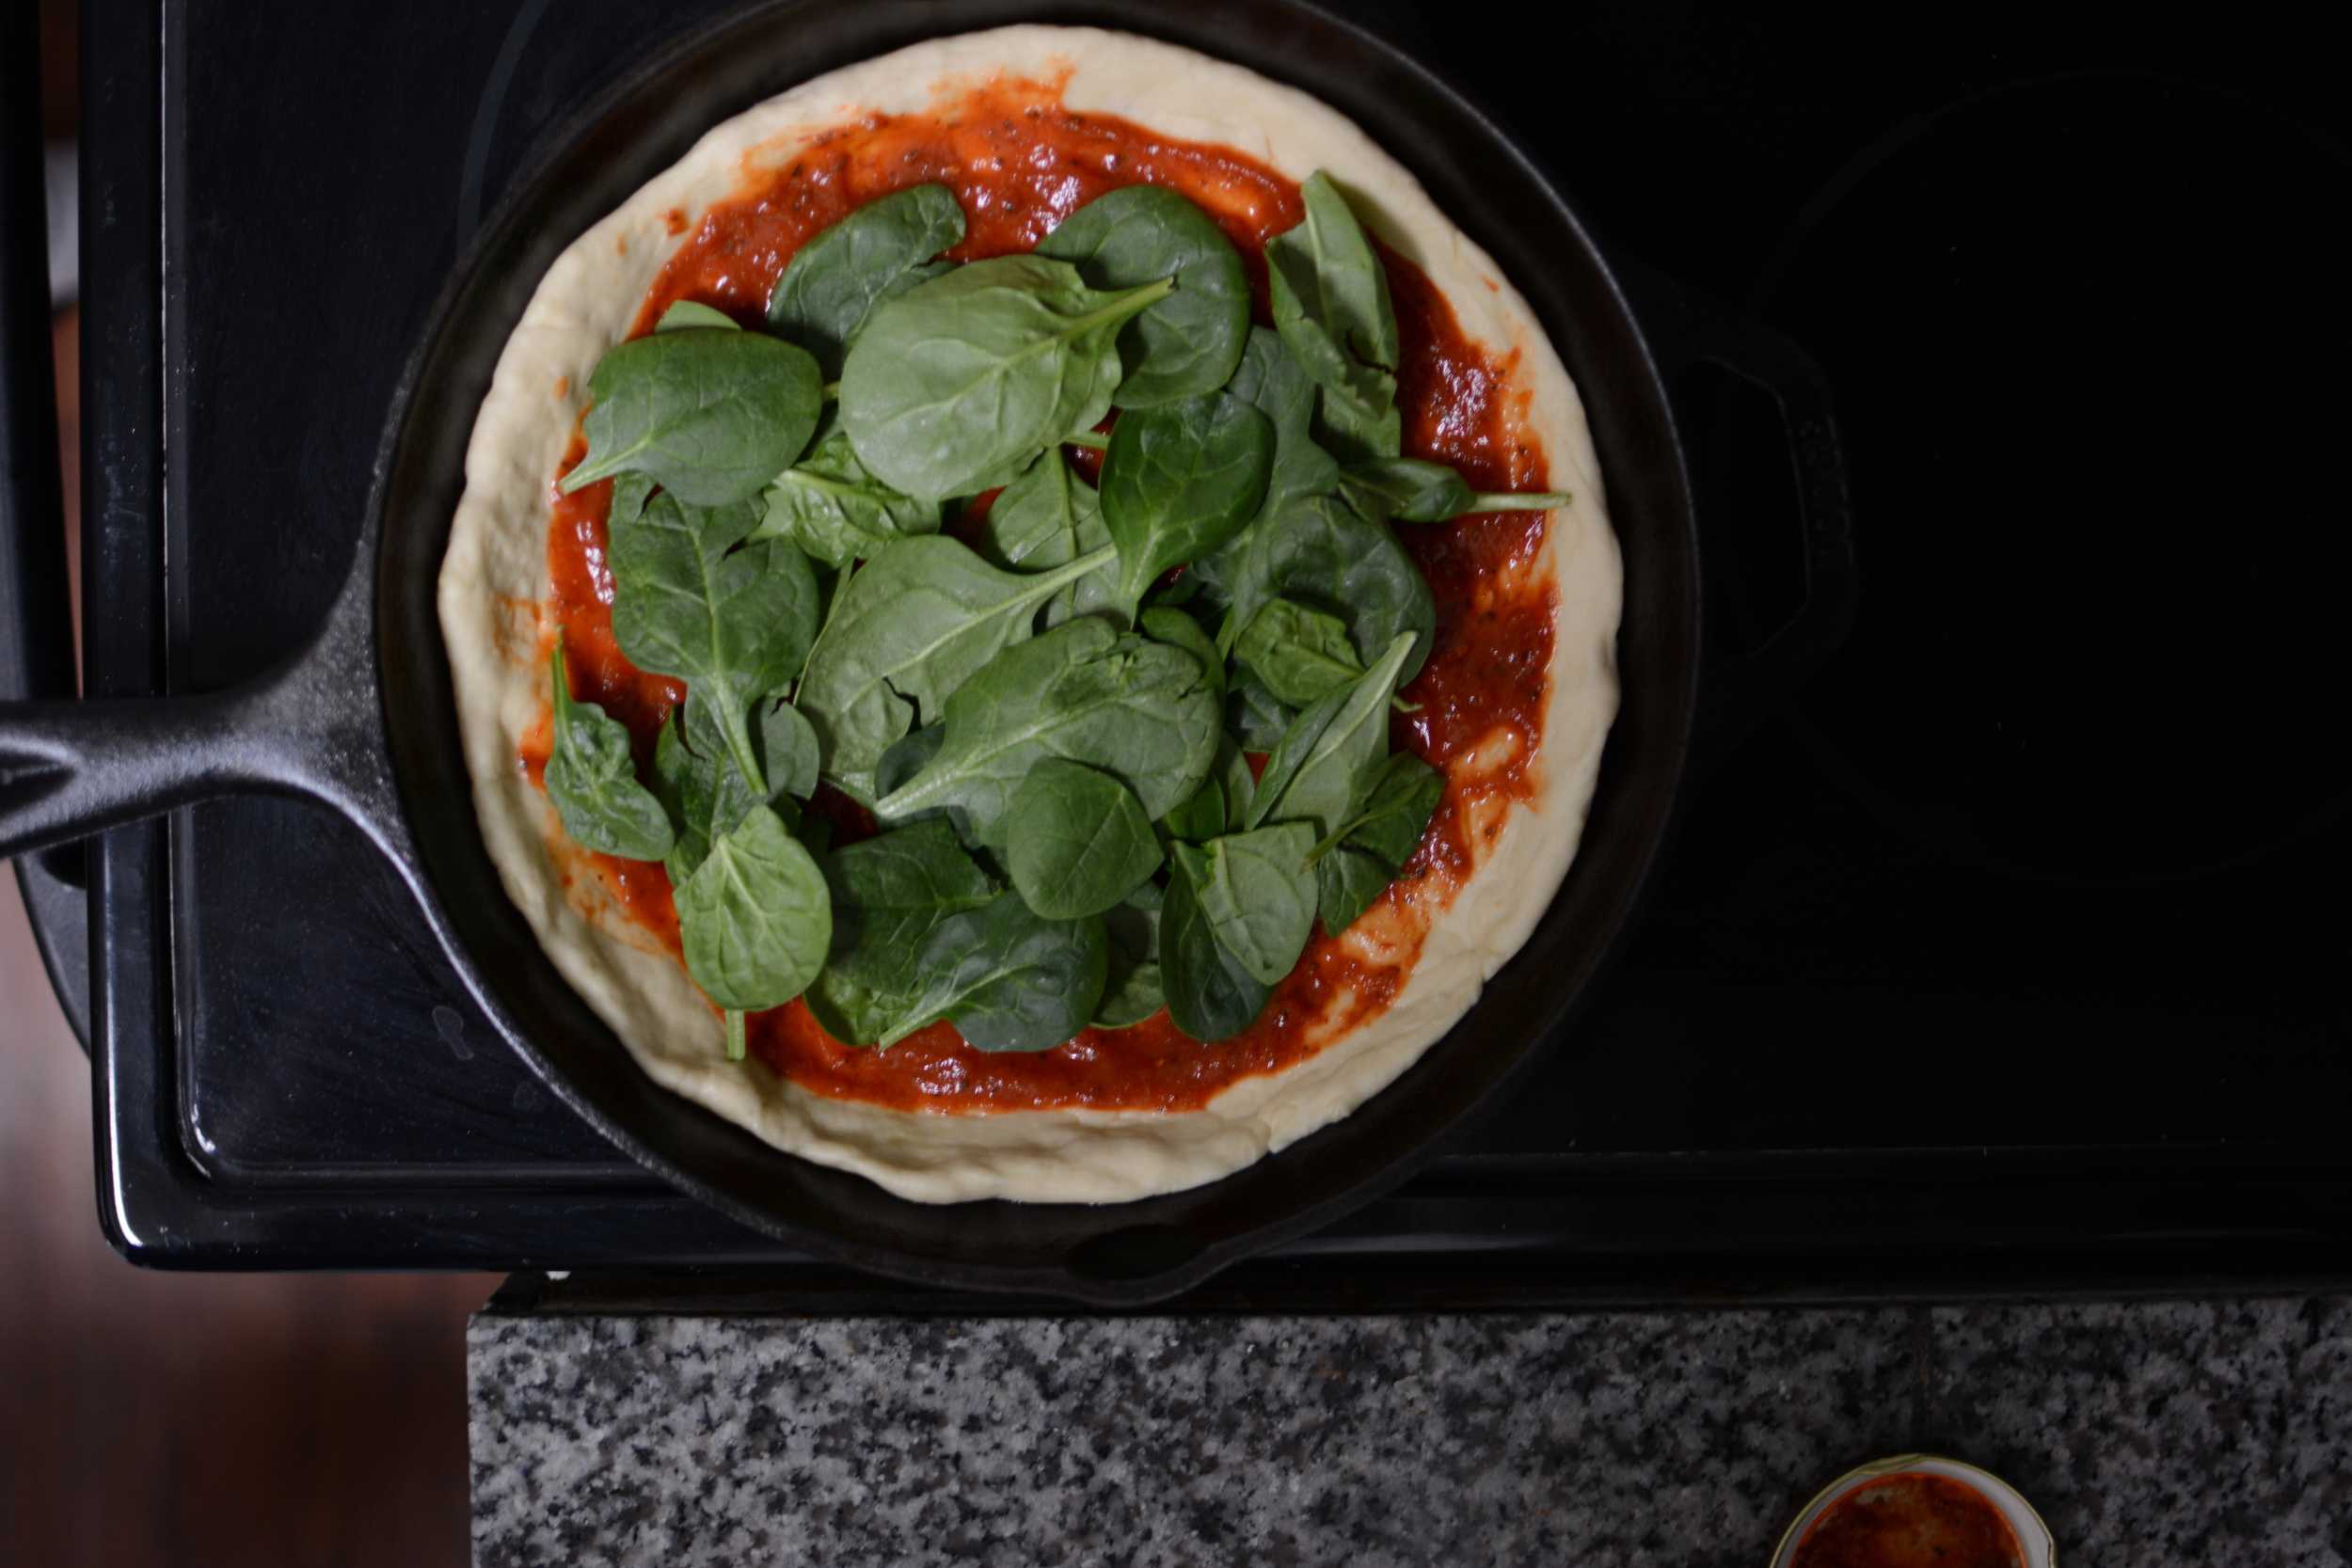
- Add spinach and other toppings over the pizza sauce
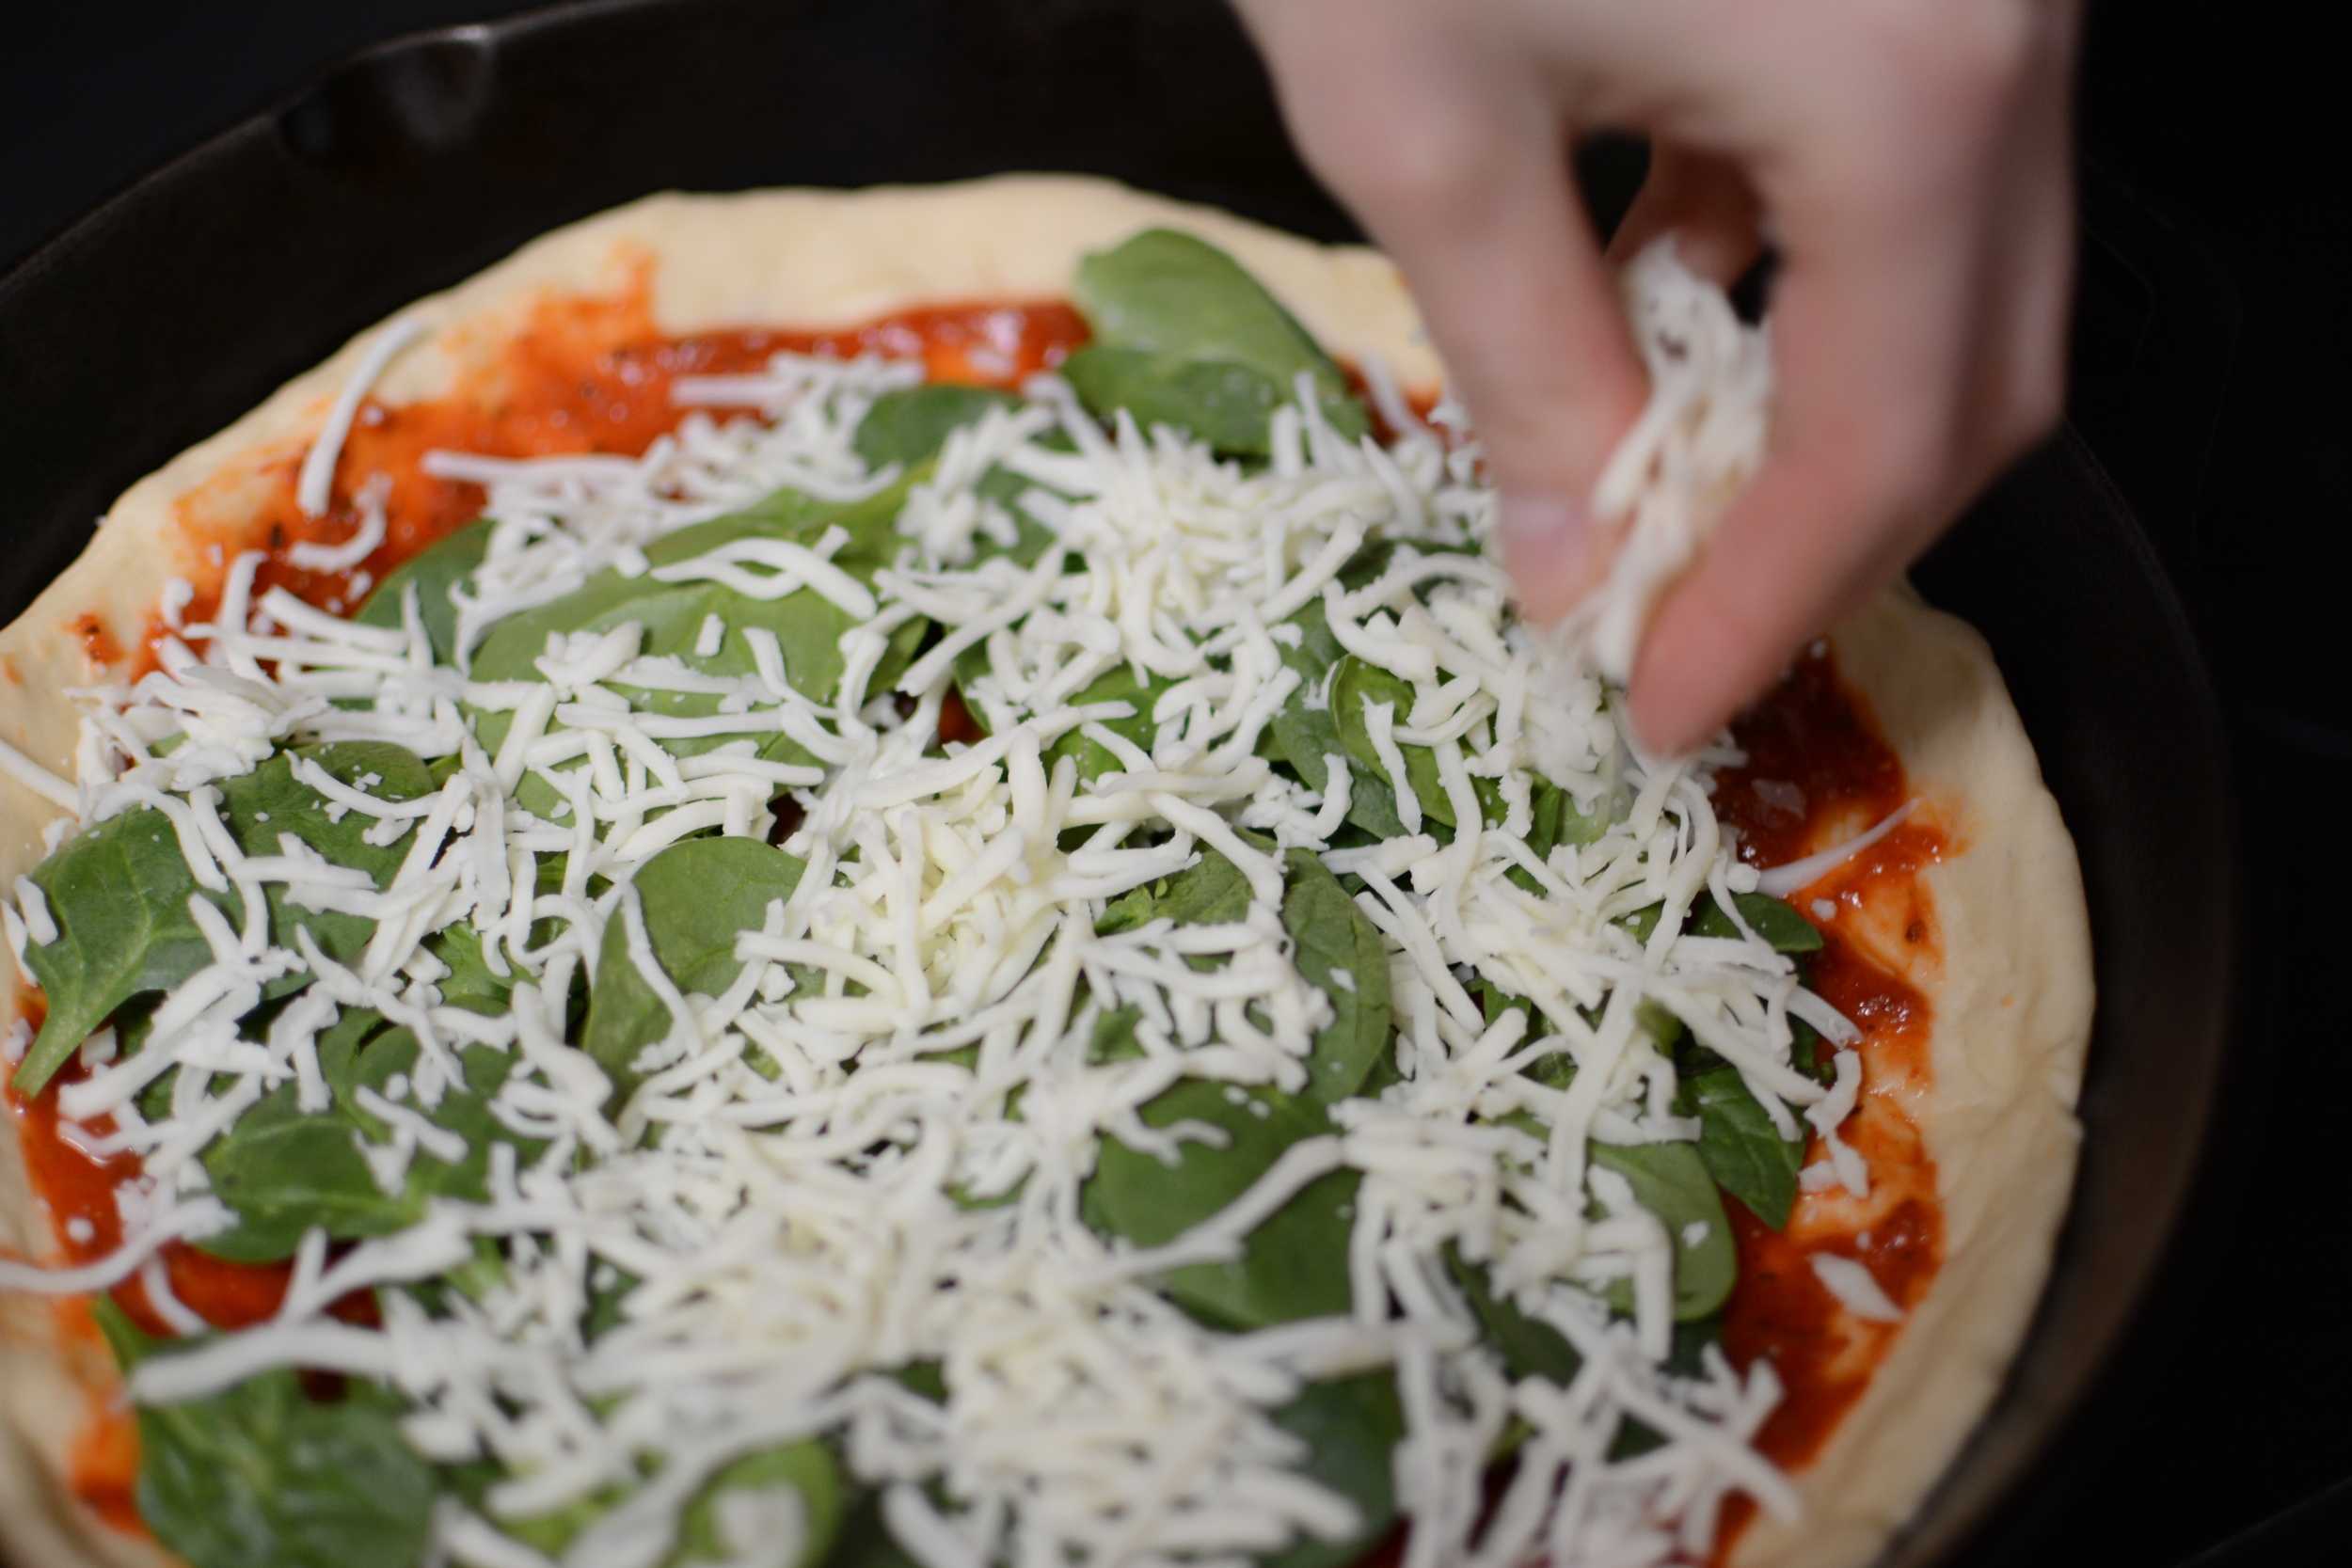
- Completely cover toppings with cheese
- Bake in the oven for 15 to 25 minutes. (Be sure to check regularly, as the cooking time really depends on the strength of the oven.)


